QNAP NAS setup
Install the coaching platform on your QNAP NAS and access it from any browser on your network: phone, tablet, or computer.
Prerequisites
- A QNAP NAS with an Intel or AMD processor (x86_64) and at least 2 GB RAM
- QTS 5.1 or later
- Container Station installed from the App Center
- Your licence key from the purchase confirmation email
The coaching platform image is built for x86_64 (amd64) only. ARM-based QNAP models (e.g. TS-x28A, TS-x33 series) are not supported.
QNAP container station

Create new container

Enter server image name
Select: try pulling image
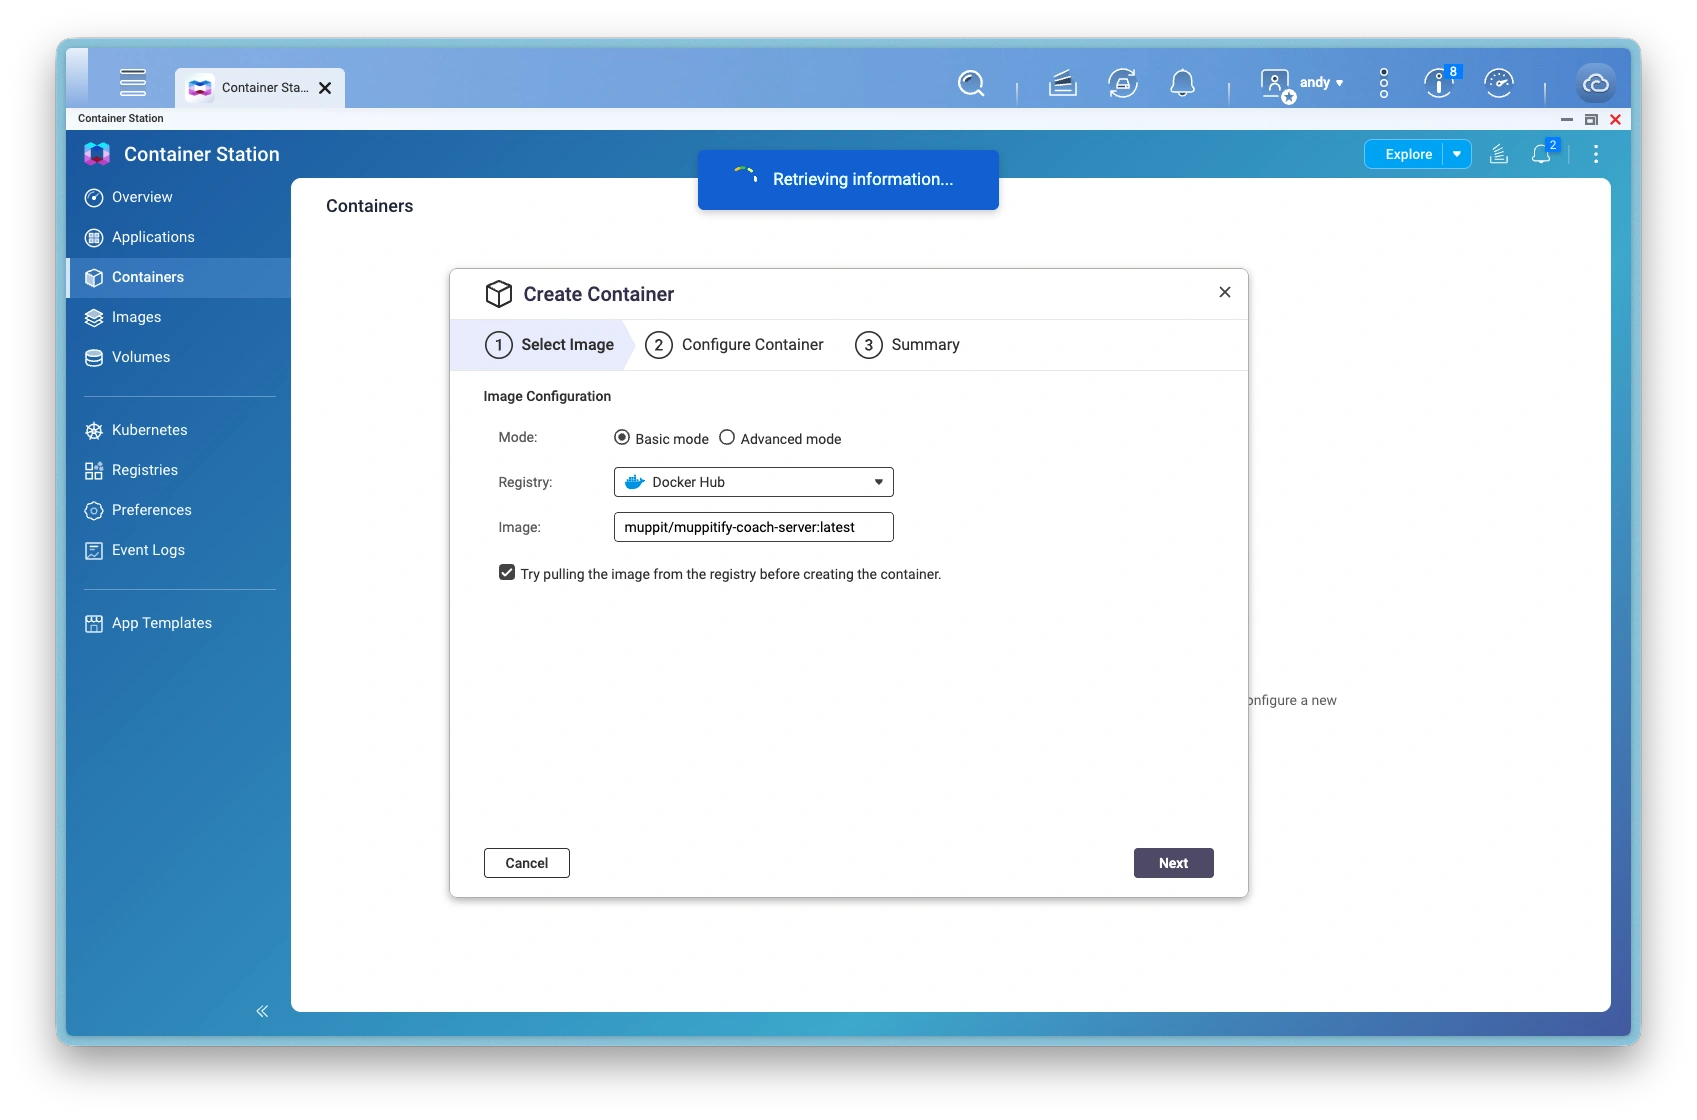
Retrieving information
Configure container host port

Configure storage

Bind mount to host and container
Configure watchtower label

Configure domain and IP address
Configure container summary
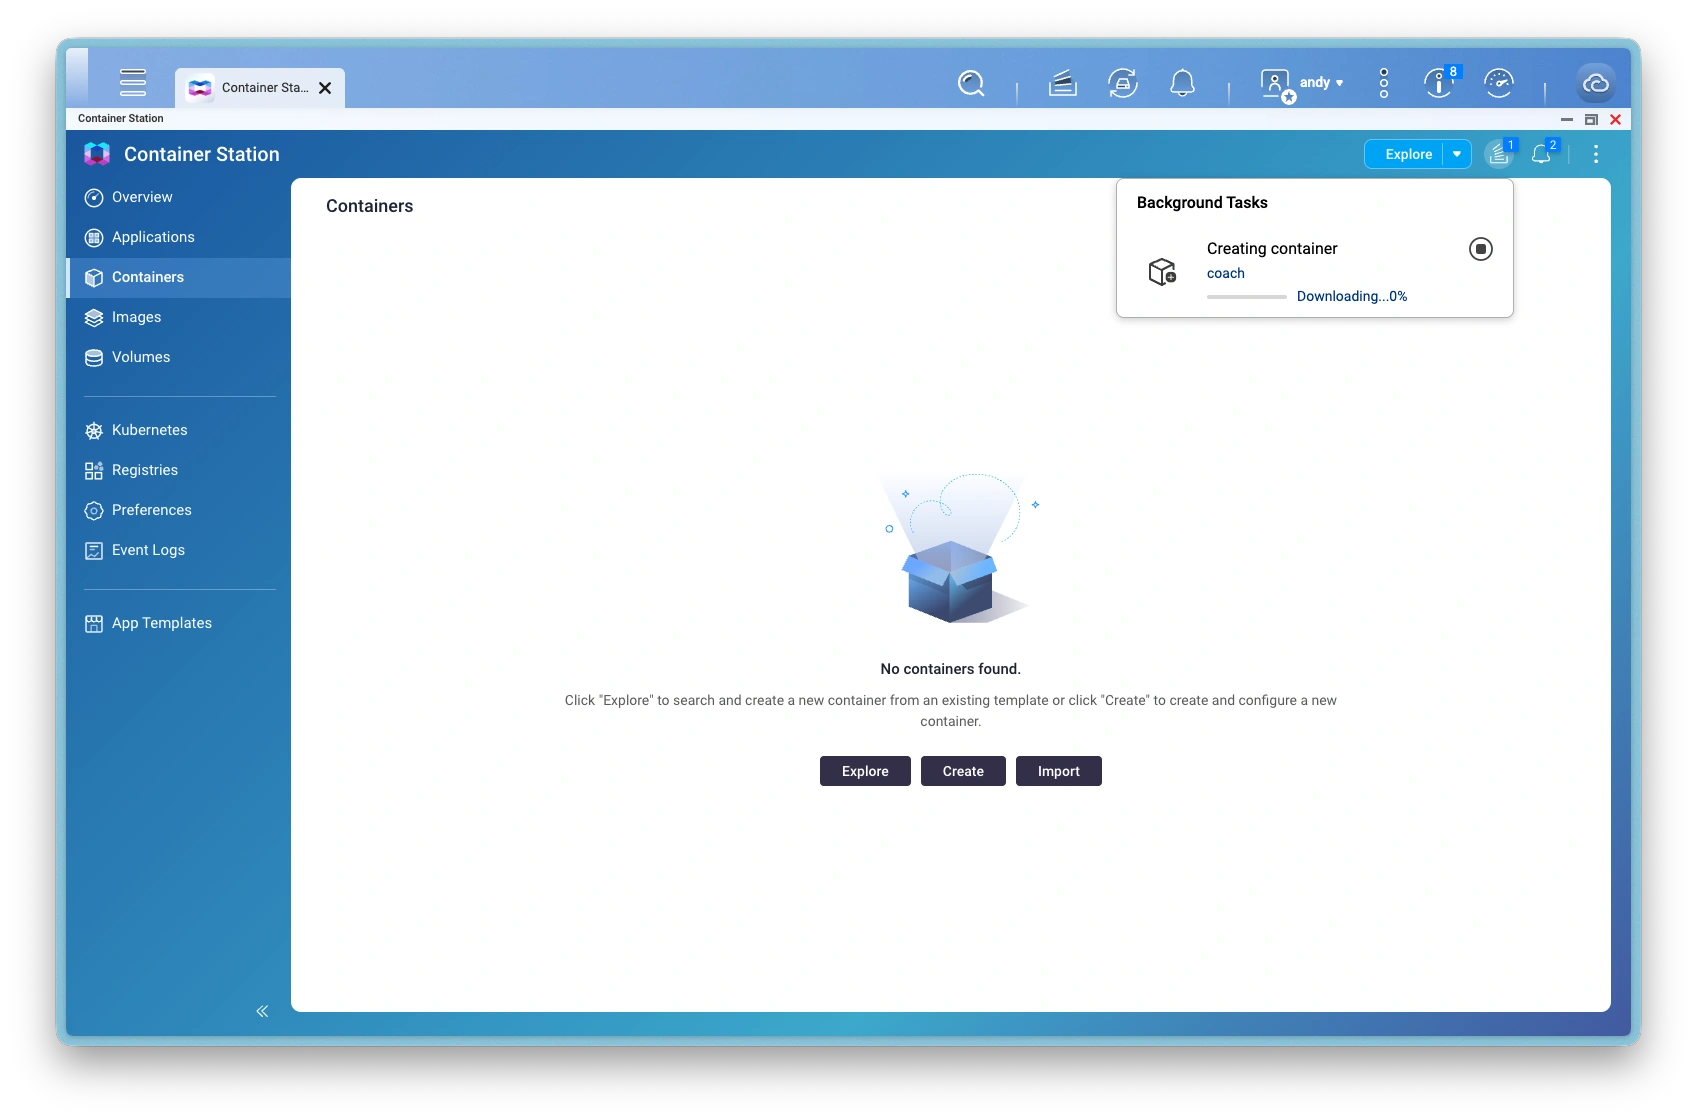
Task: creating container

Task: creating container progress
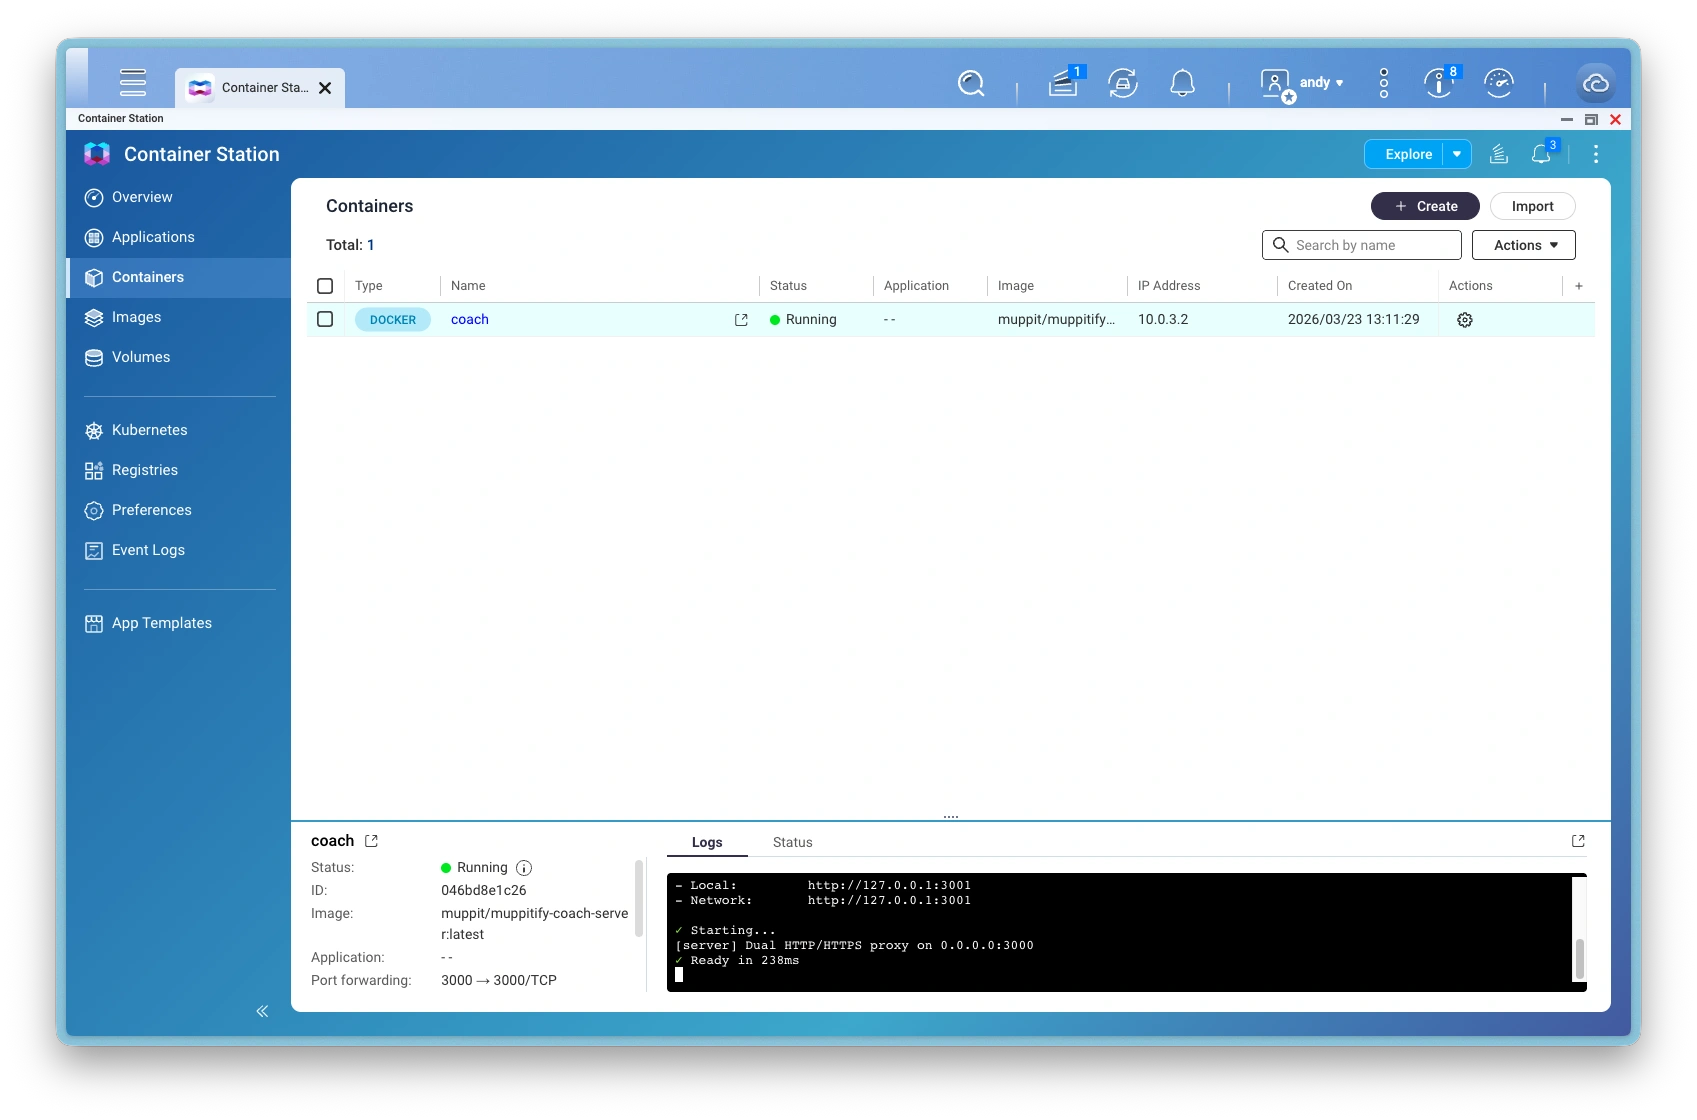
Server Edition deployed

Create application
Enter YAML configuration
Task: creating application

Task: creating application progress
Watchtower application running

Server Edition and auto-updates deployed
1. Prepare a data folder
Before creating the container, create a folder for the coaching platform's data. Using a shared folder lets you browse and back up the data from any computer on your network.
- Open File Station on your NAS
- Navigate to any shared folder you can access from your computer (e.g. your home folder, Downloads, or a dedicated share)
- Create a new folder called
coach-data
Remember which shared folder you chose. You'll select it in step 2.
2. Create the container
Select the image
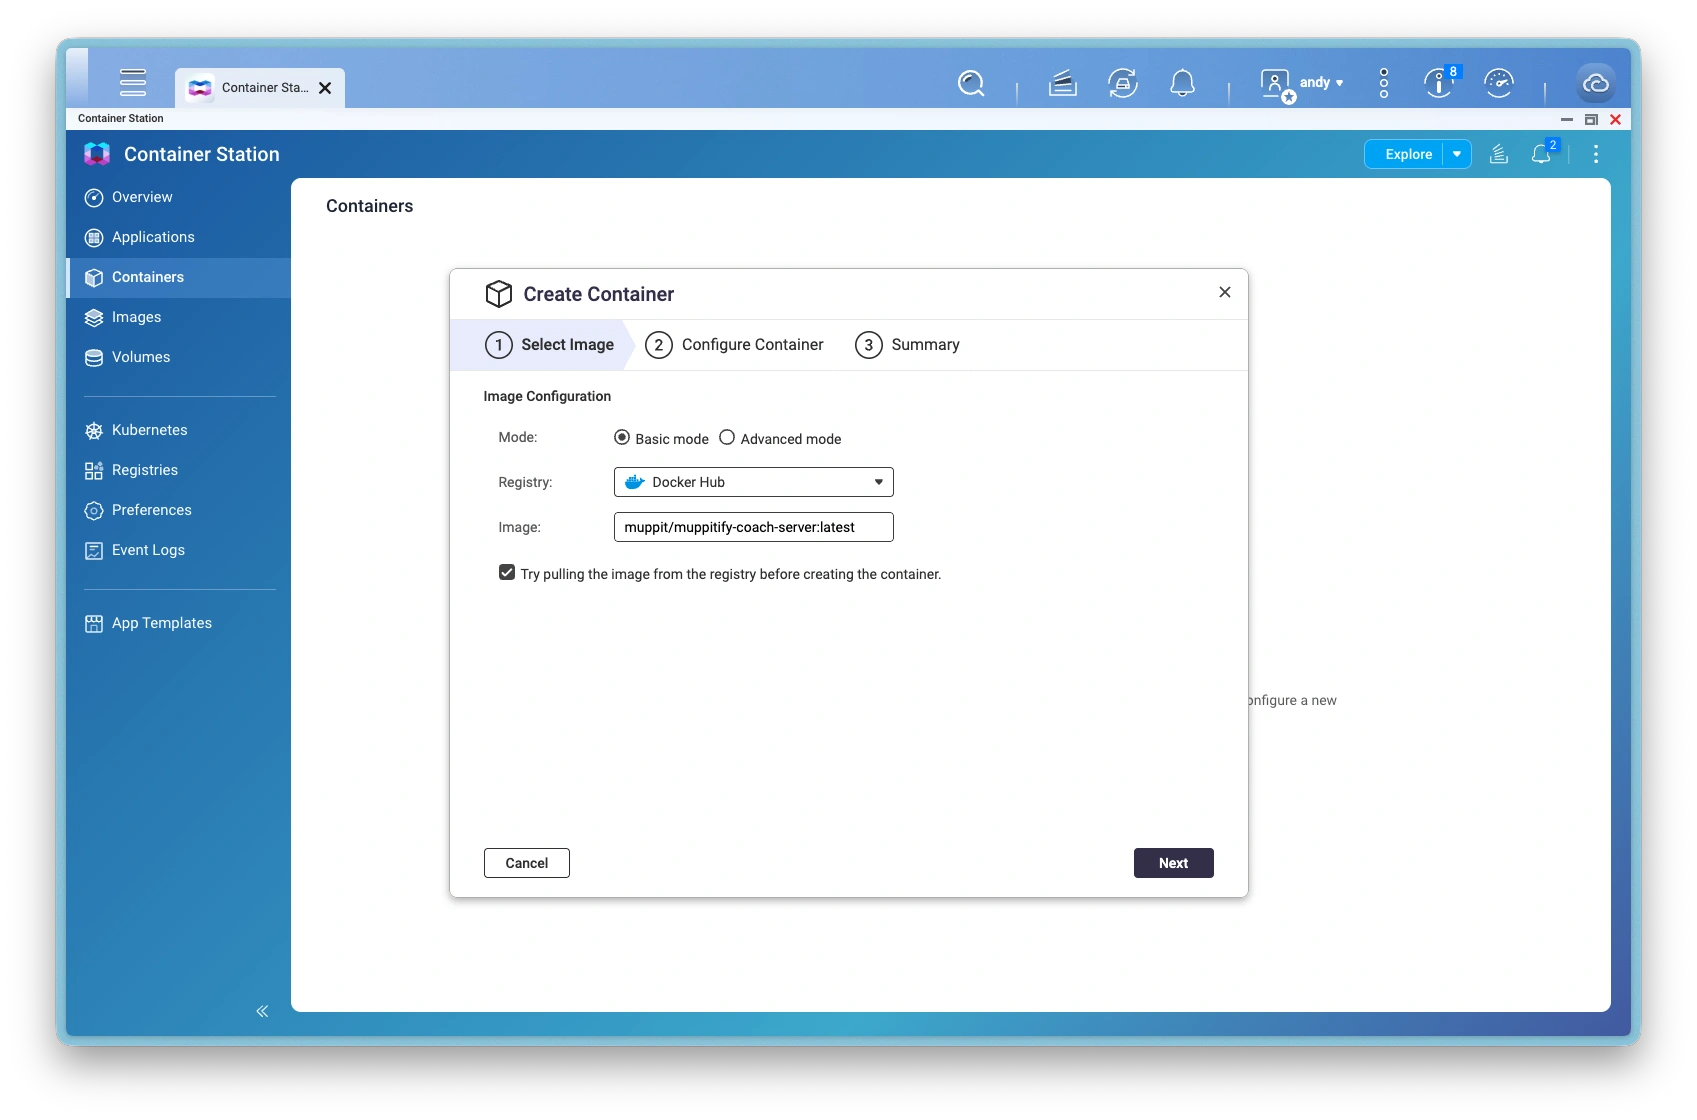
- Open Container Station > Containers > Create
- Leave Registry set to Docker Hub
- In the Image field, type
muppit/muppitify-coach-server:latest - Tick Try pulling the image from the registry before creating the container
- Click Next
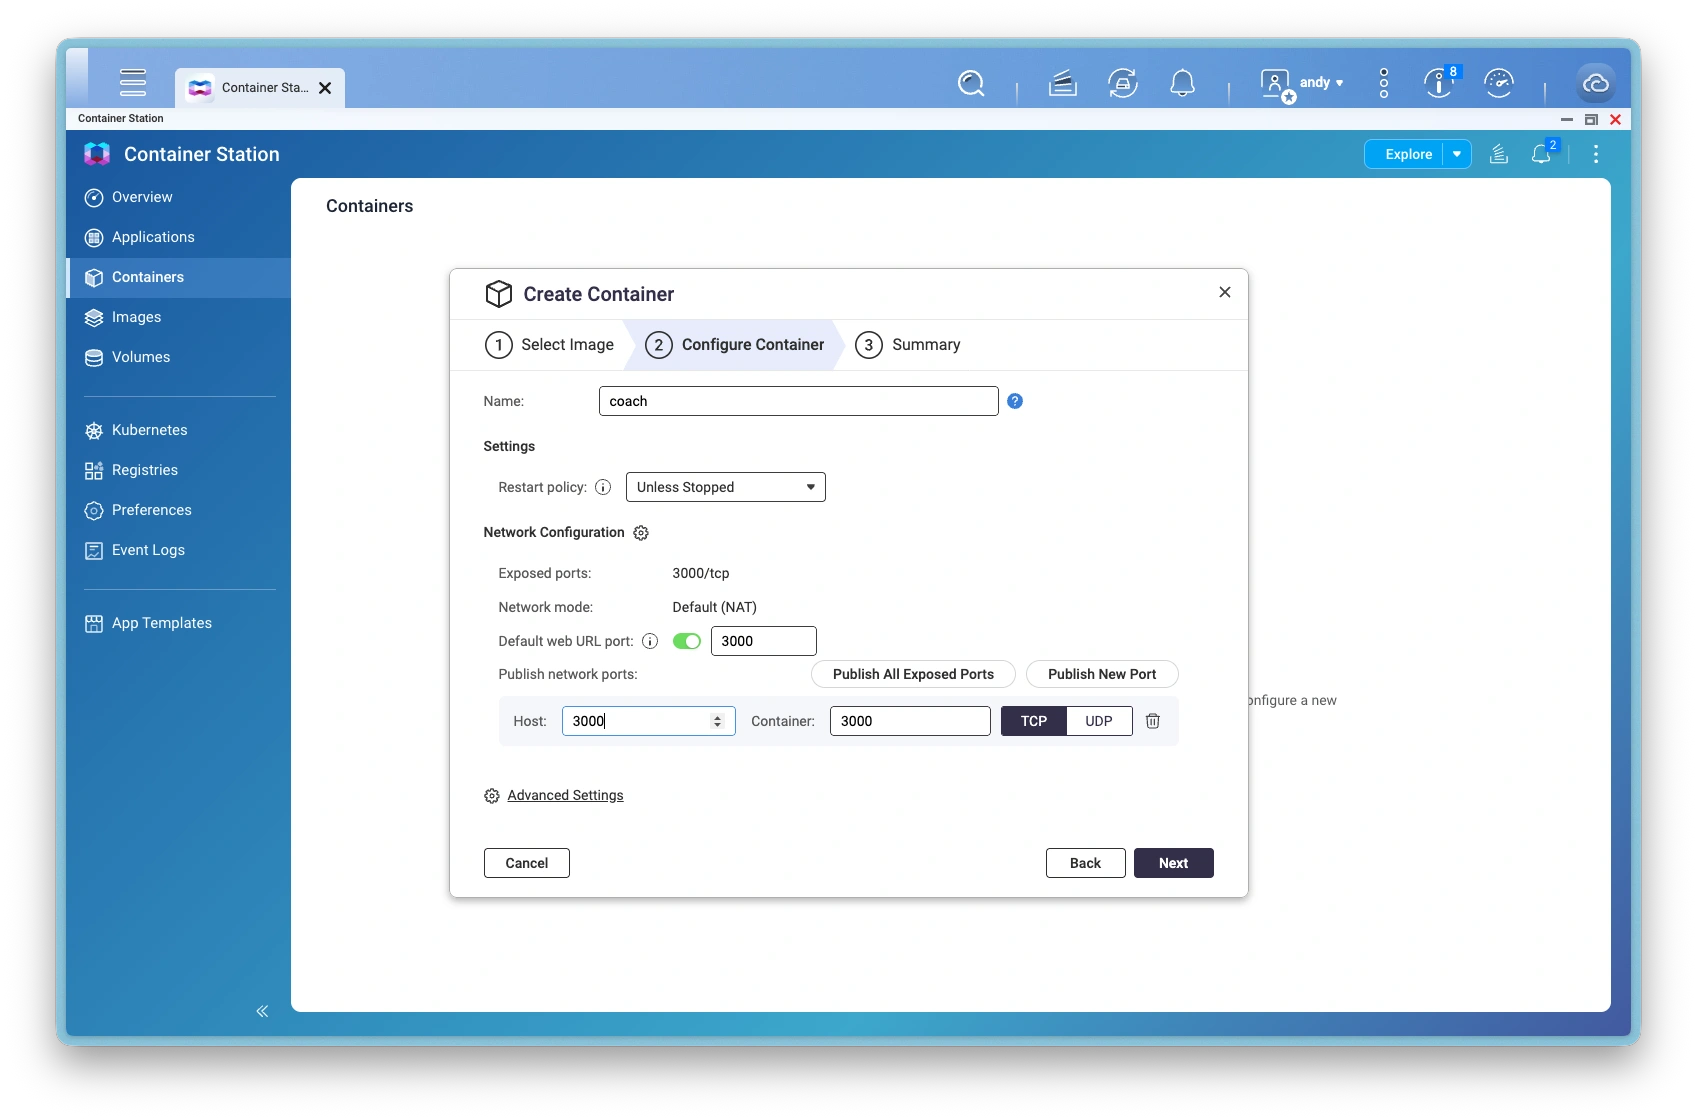
Configure the container
- Change Name from the auto-generated name to
coach - Restart policy should already be set to Unless Stopped
- Under Publish network ports, enter
3000in the Host field (the Container field is already3000) - Click Advanced Settings
Add the data folder
- In Advanced Settings, click Storage in the left sidebar
- Click the dropdown arrow next to Add Volume and select Bind Mount Host Path
- Click the yellow folder icon next to Host to open the folder picker
- Navigate to the
coach-datafolder you created in step 1 and select it - In the Container field, type
/data - Leave the mode set to RW (read-write)
- Delete the empty Volume/Container row above by clicking its trash icon
The folder picker only shows existing folders. You cannot create new ones from here. If your folder isn't visible, go back to File Station and create it first, then click the refresh icon in the picker.
The container-station-data folder inside the Container shared folder is Container Station's internal data. Don't store your app data there.
Reduce browser warnings (optional)
By default, the app generates a self-signed certificate with generic SANs. You can add your NAS's hostname and IP so the certificate matches how you access it, which reduces browser warnings.
- Click Environment in the left sidebar
- Add a new variable:
- Name:
EXTRA_SANS - Value:
DNS:your-nas-hostname,IP:your-nas-ip(e.g.DNS:nas.local,IP:192.168.1.50)
- Name:
If you skip this step, the app still works, but you'll see an extra certificate warning on first visit.
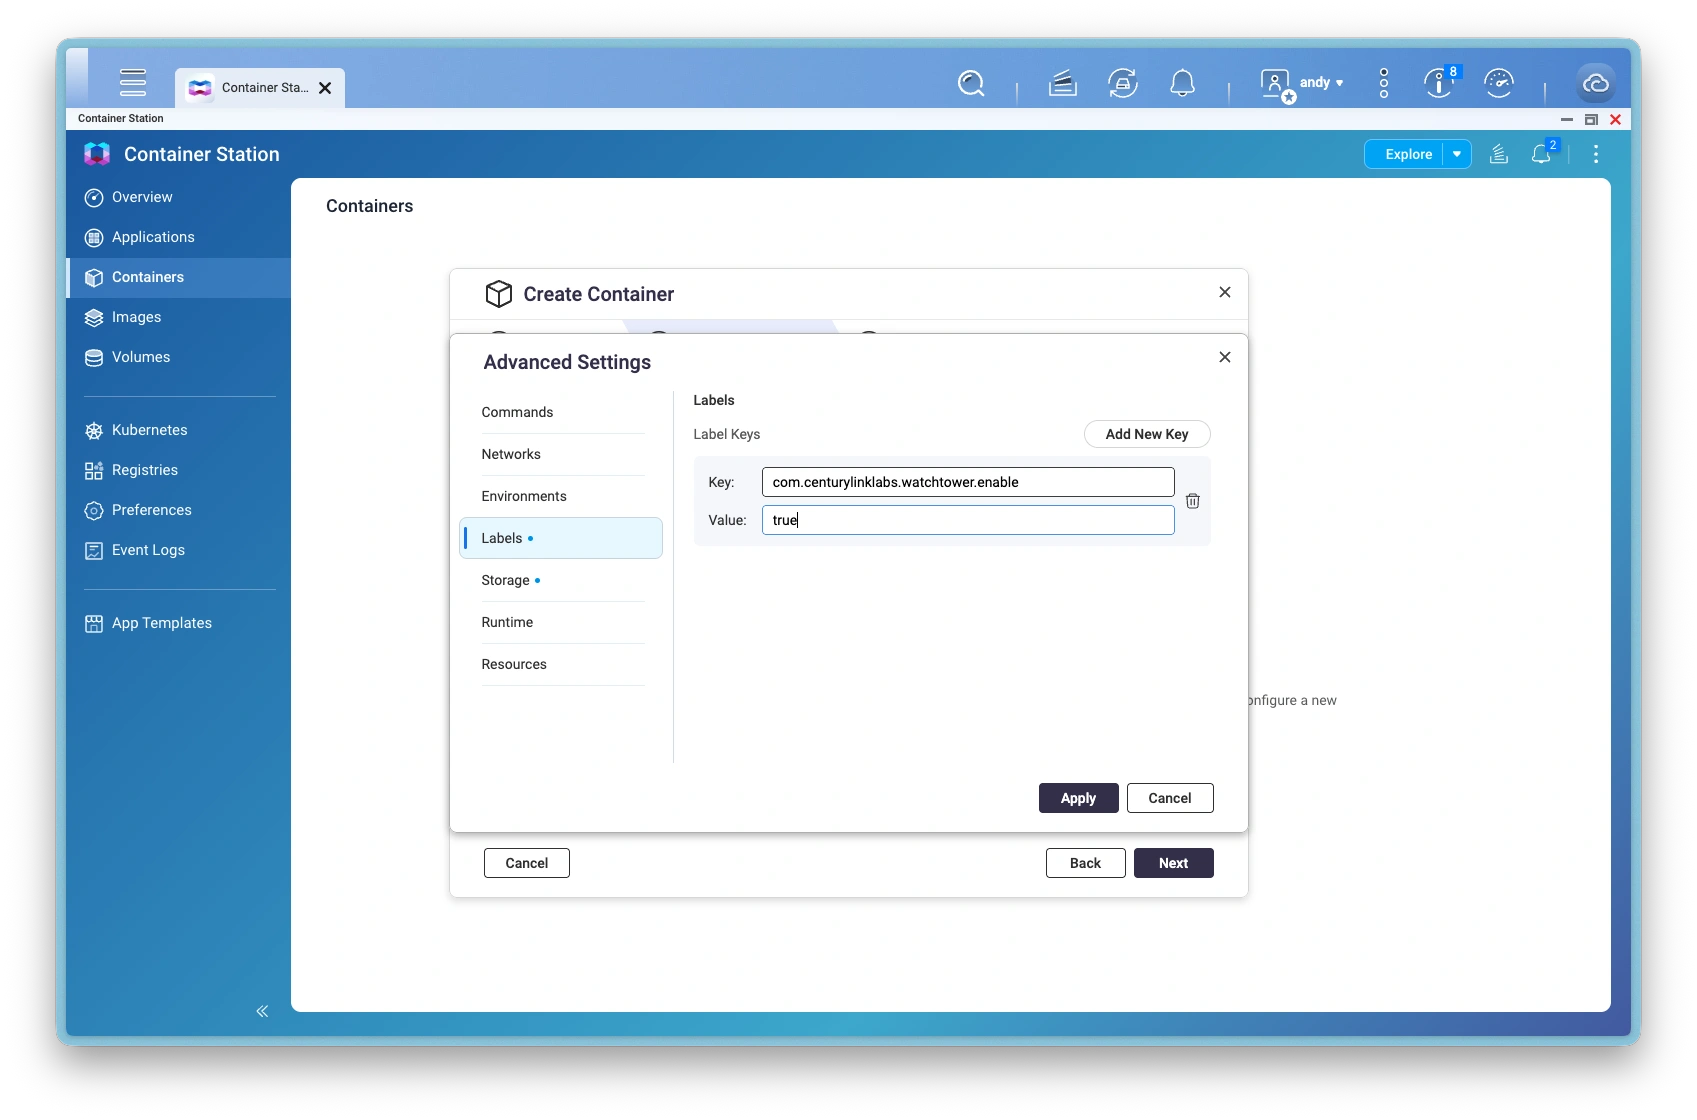
Enable automatic updates
- Click Labels in the left sidebar
- Click Add and enter:
- Name:
com.centurylinklabs.watchtower.enable - Value:
true
- Name:
This label tells the Watchtower container (set up next) that it's allowed to update this container.
Save advanced settings
- Click Apply to save all advanced settings and return to the container creation screen
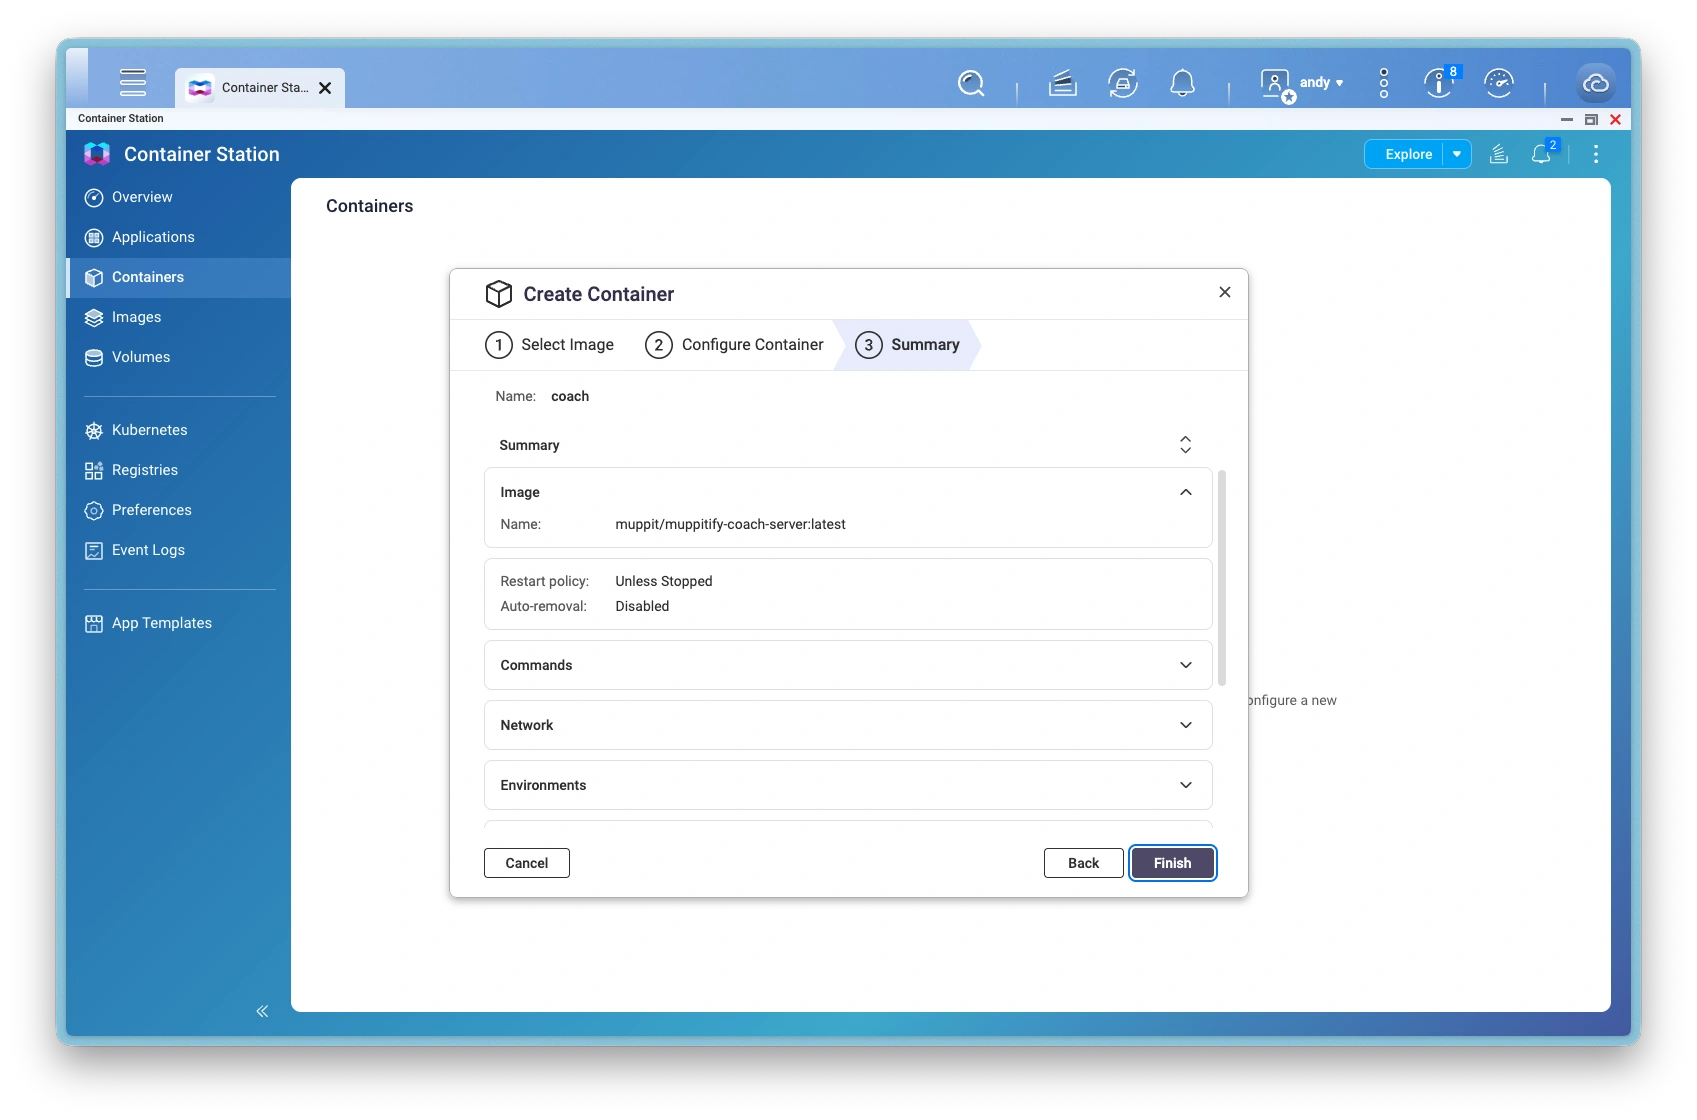
Finish
- Click Next to review the summary
- Click Finish
The container will start automatically. The first launch takes a minute or two while the app initialises.
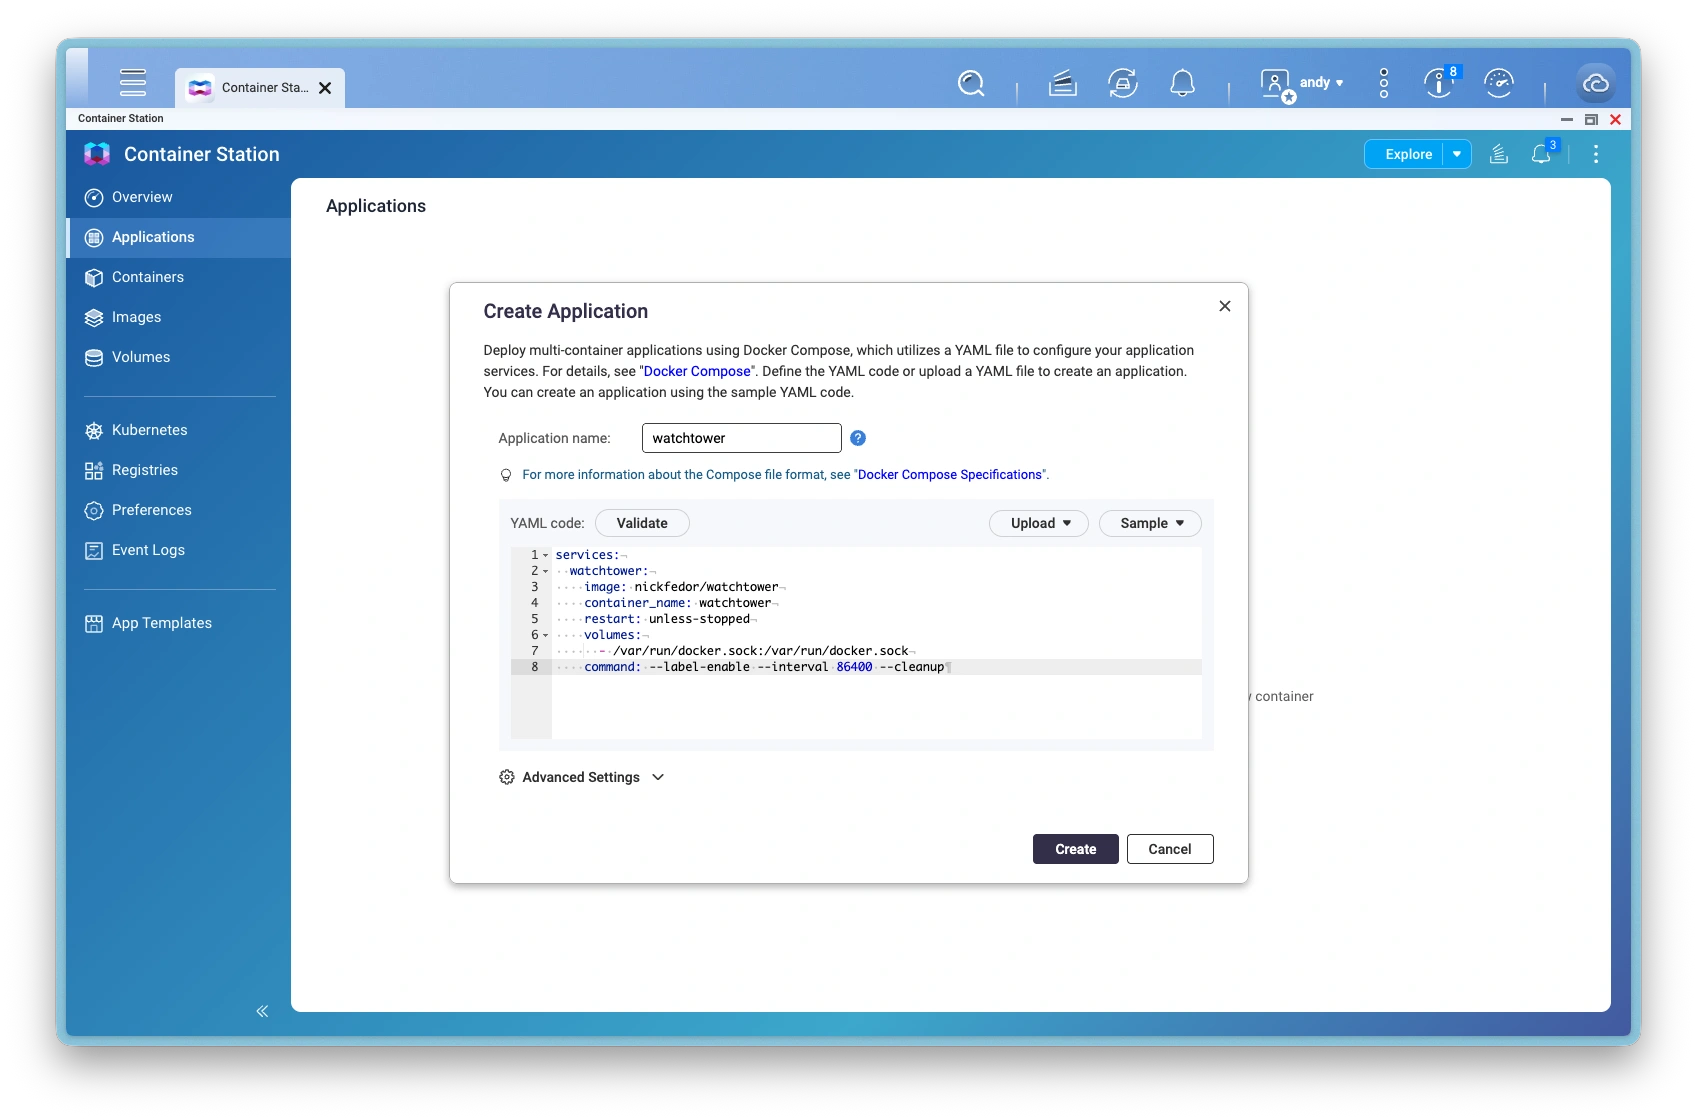
Set up Watchtower (automatic updates)
Watchtower is a lightweight container that checks for new coaching platform images once per day and updates the coach container automatically. Your data is preserved across updates.
-
Go to Container Station > Applications > Create
-
Paste the following YAML:
services:watchtower:image: nickfedor/watchtowercontainer_name: watchtowerrestart: unless-stoppedvolumes:- /var/run/docker.sock:/var/run/docker.sockcommand: --label-enable --interval 86400 --cleanup -
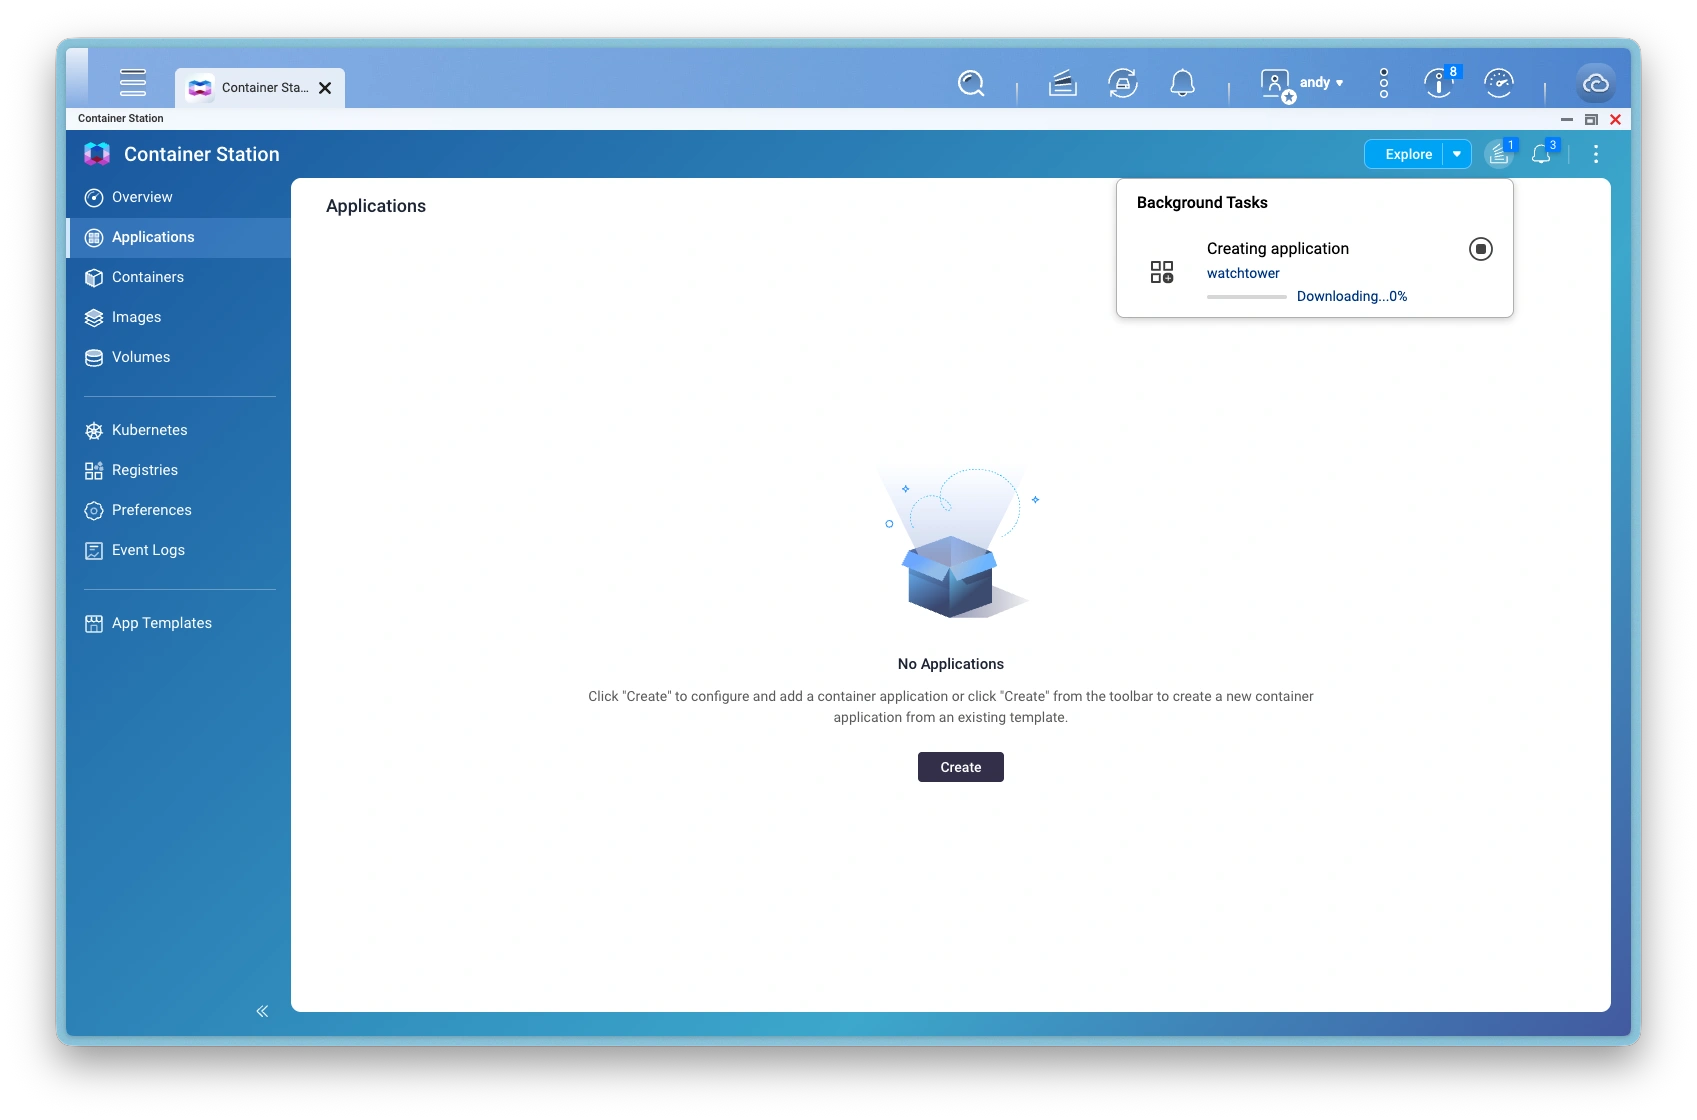
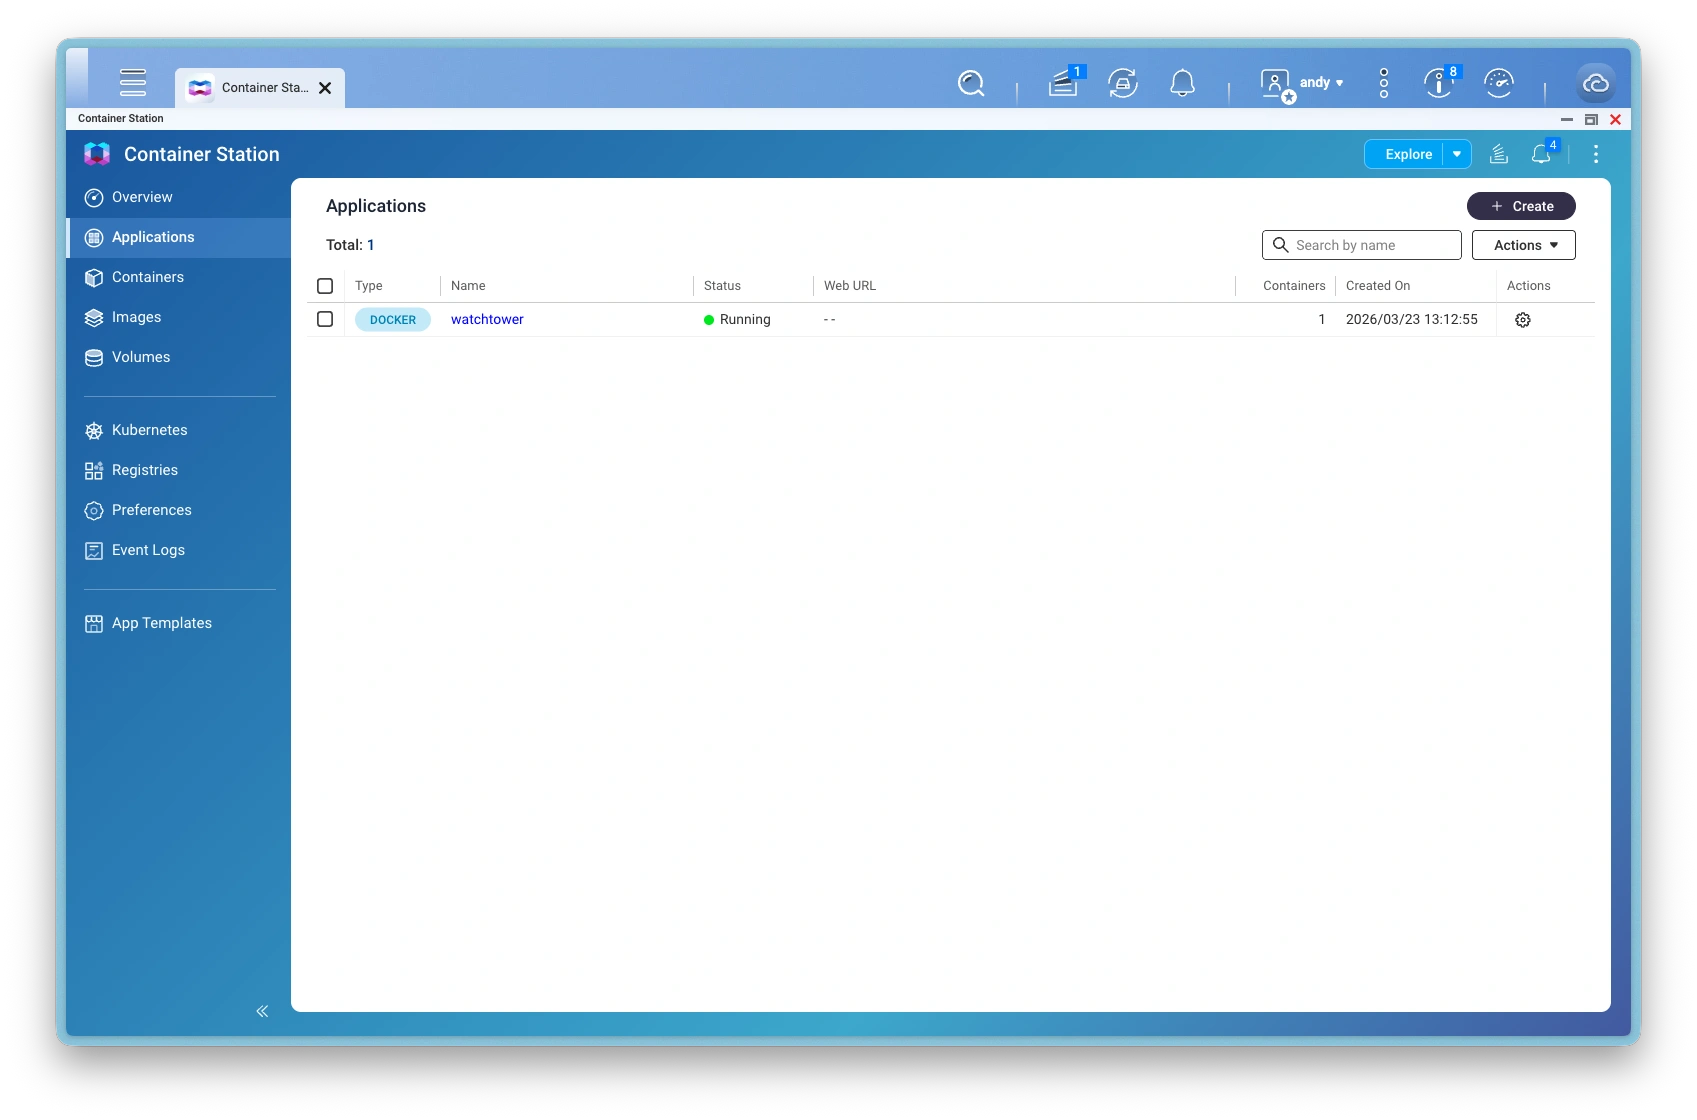
Click Create
Watchtower only updates containers with the com.centurylinklabs.watchtower.enable label, so it won't touch other containers on your NAS.
Alternative: docker-compose
If you're comfortable with SSH or the Container Station Applications tab, you can deploy both containers with a single YAML file instead of the manual steps above.
-
Find the system path to the
coach-datafolder you created in step 1. SSH into your NAS and run:find /share -type d -name coach-data 2>/dev/nullThis returns something like
/share/CACHEDEV1_DATA/homes/admin/coach-data. -
Open Container Station > Applications > Create, or create a
docker-compose.ymlfile via SSH. -
Paste the following YAML, replacing the volume path with the result from step 1:
services:coach:image: muppit/muppitify-coach-server:latestcontainer_name: coachrestart: unless-stoppedports:- "3000:3000"volumes:- /share/CACHEDEV1_DATA/homes/admin/coach-data:/datalabels:- "com.centurylinklabs.watchtower.enable=true"watchtower:image: nickfedor/watchtowercontainer_name: watchtowerrestart: unless-stoppedvolumes:- /var/run/docker.sock:/var/run/docker.sockcommand: --label-enable --interval 86400 --cleanup -
Click Create (Container Station) or run
docker compose up -d(SSH).
To add the optional EXTRA_SANS environment variable for reduced certificate warnings, add an environment section to the coach service:
    environment:
      - EXTRA_SANS=DNS:your-nas-hostname,IP:your-nas-ip
Then continue with step 3: Access the app.
3. Access the app
Open a browser on any device connected to your network and go to:
https://NAS-IP:3000
Replace NAS-IP with your NAS's IP address or hostname (e.g. https://192.168.1.50:3000).
Your browser will show a certificate warning on first visit. This is expected. The app generates a self-signed certificate for secure local access, the same way your QTS admin page works. Accept the warning once per device.
Open Qfinder Pro on your computer or check Control Panel > Network & Virtual Switch > Interfaces on the NAS.
If port 3000 is already in use, change the host port in the port mapping. For example, host 3001 → container 3000 makes the app available at https://NAS-IP:3001.
4. Setup wizard
On first launch, the setup wizard guides you through:
- Admin password. Choose a password to protect your server. You'll use this to sign in from any device on your network.
- Licence activation. Enter your licence key from the purchase email.
- Your profile. Enter your name and email address. This links you as the coach for your sessions.
- Cloudflare Tunnel (optional). Paste your tunnel token if you want a public domain for Zoom webhooks or remote access. WAF rules must be configured in Cloudflare first (see step 5). Skip this if you only access the app on your local network.
- Domain configuration (optional). Enter your public domain (e.g.
coach.yourdomain.com). - Zoom credentials (optional). Enter your Zoom OAuth app credentials for automatic recording staging when meetings end.
- Complete. You're ready to use the coaching platform.
All settings can be changed later from the Settings page.
5. Set up a public domain (optional)
If you want Zoom webhooks or access from outside your network, you need a Cloudflare Tunnel. The tunnel connector runs inside the coaching platform container, so you do not need to install anything else on your NAS.
- Go to Cloudflare Zero Trust and sign in or create a free account
- Navigate to Networks > Connectors > Create a tunnel
- Choose Cloudflared as the connector and name it (e.g.
muppitify-coach) - On the install screen, ignore the installation commands. Copy only the tunnel token (the long string starting with
eyJ) - Add a public hostname:
- Subdomain: your preferred subdomain (e.g.
coach) - Domain: select your Cloudflare domain
- Service type: HTTP
- URL:
localhost:3000
- Subdomain: your preferred subdomain (e.g.
- Click Complete setup
- In the coaching platform, go to Settings > Domain & Tunnel, paste the token and click Save
- Enter your domain in the Public domain field, click Test, then Save
The tunnel connector runs inside the same container, so localhost:3000 is correct regardless of your NAS port mapping.
The coaching platform automatically stops the tunnel if WAF rules are not detected on your public domain. You must create the WAF rule in Cloudflare before pasting your tunnel token. See Secure the tunnel in the Cloudflare Tunnel guide for the rule configuration and Bot Fight Mode instructions.
Updating
If you set up Watchtower during installation, updates happen automatically. Watchtower checks for new versions once per day, pulls the new image, recreates the coach container, and removes the old image. Your data is preserved.
To check update activity, open Container Station > Containers > click watchtower > Logs.
If you didn't set up Watchtower, you can update manually:
- Open Container Station > Containers
- Stop the
coachcontainer - Go to Images, find
muppit/muppitify-coach-server, and click Pull to download the latest version - Go back to Containers, remove the old
coachcontainer - Recreate it with the same settings (name, port, volume, restart policy)
Your data is stored in the folder you chose during setup and persists across updates.
Backup and restore
Backup
Your data is stored in the shared folder you selected when creating the container (e.g. coach-data). You can back it up like any other folder on your NAS:
- File Station: Browse to your
coach-datafolder and download or copy it - From your computer: Access it over the network via SMB (e.g.
smb://NAS-IP/YourShare/coach-dataon Mac) - Hybrid Backup Sync: Add the
coach-datafolder to a backup job (local, cloud, or remote NAS)
Stop the container before backing up for a consistent snapshot.
Restore
- Stop the
coachcontainer in Container Station - In File Station, replace the contents of your
coach-datafolder with the backup - Start the container
Troubleshooting
Container won't start
Open Container Station > click the coach container > Logs tab to see error messages. Common causes:
- The data folder doesn't exist or was moved. Check the bind mount path in the container settings
- Insufficient memory. Ensure at least 2 GB RAM is available
Port already in use
QNAP reserves ports 8080 and 443 for QTS, but 3000 is usually free. If another service is using it, change the host port mapping to a different number (e.g. 3001) and access the app at https://NAS-IP:3001.
Certificate warning in browser
This is expected. The app generates a self-signed certificate for encrypted local access. Accept the warning once per browser. It's the same type of warning you see when accessing the QTS admin page over HTTPS.
To reduce warnings, add an EXTRA_SANS environment variable to the container with your NAS's hostname and IP (see step 16 above). The certificate auto-regenerates on the next restart when SANs change.
Image pull fails
- Check your NAS has internet access
- Ensure you're using an x86_64 NAS model (ARM is not supported)